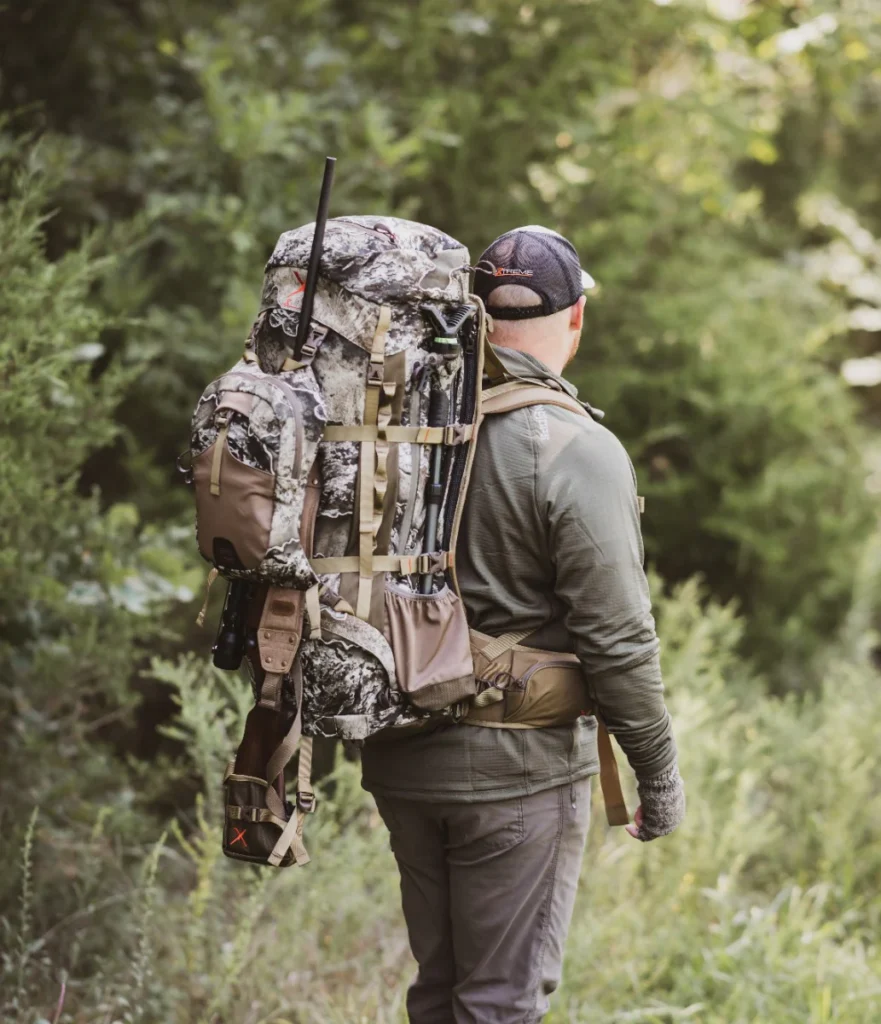
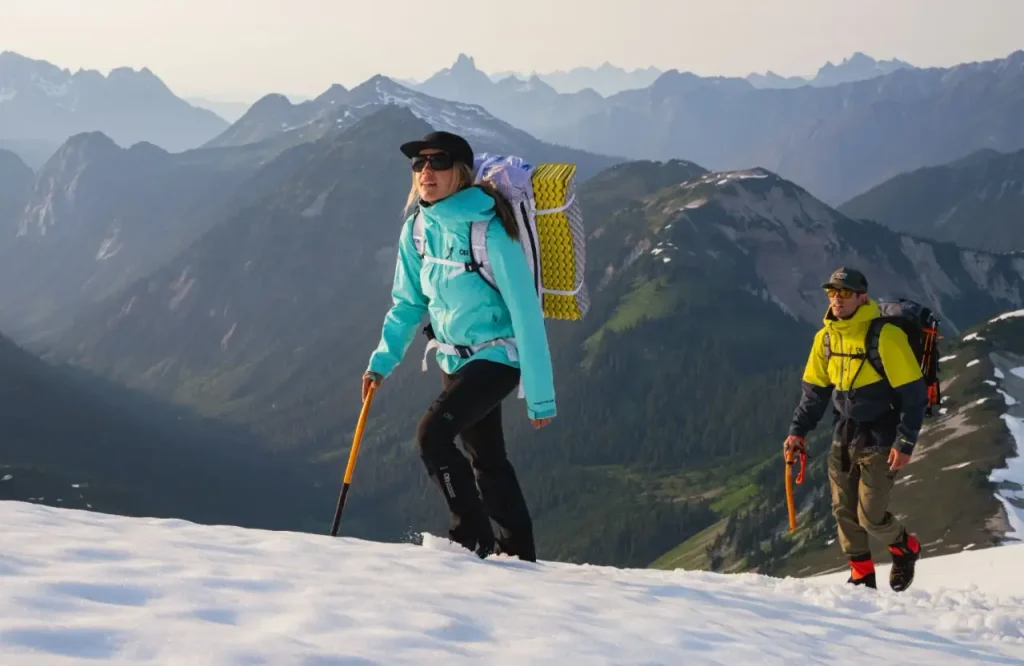
Cold-weather hiking gets much easier once you stop thinking about staying as warm as possible and start thinking about staying comfortably warm without getting wet from sweat.
That distinction matters. On a steep winter climb, too much insulation can leave your base layer soaked. Ten minutes later, when you stop at an overlook and the wind picks up, that trapped moisture can make you feel cold remarkably fast.
A good winter hiking setup lets you adjust as the day changes. You should be able to vent heat on the climb, add insulation during a break, pull on a shell when the wind starts cutting across the ridge, and add traction when a shaded section of trail turns icy.
The goal is not to carry expedition gear for an ordinary day hike. It is to build a cold weather hiking gear system that matches the temperature, terrain, snow, wind, and amount of time you expect to spend outside.
This guide walks through the pieces that matter most—and, more importantly, how they work together on an actual winter trail. ❄️
The Single Most Important Concept: Layering
Layering gives you something one giant winter coat cannot: control.
You may leave the trailhead feeling slightly chilly, warm up dramatically after twenty minutes of climbing, get hit by cold wind above the trees, then cool down again during lunch.
Your clothing needs to handle all four situations.
A practical cold-weather layering system has three basic parts:
- Base layer: manages sweat next to your skin
- Mid layer: provides insulation
- Outer layer: blocks wind and precipitation
The key is not wearing all three layers all the time.
If you are starting a steep climb and already feel perfectly warm in the parking lot, you may be overdressed. Open your jacket, remove a layer, or start slightly cool. Once you begin sweating heavily, managing moisture becomes much harder.
When you stop, do the opposite. Put on extra insulation before you begin feeling cold.
That habit—adjusting early instead of reacting late—makes a bigger difference than simply buying warmer clothing. 🥾
Base Layer: The Moisture Manager
Your base layer should help move perspiration away from your skin so it can spread through the fabric and dry.
That is why fabric choice matters much more here than thickness alone.
For cold-weather hiking, merino wool and synthetic fabrics are usually the most practical options.
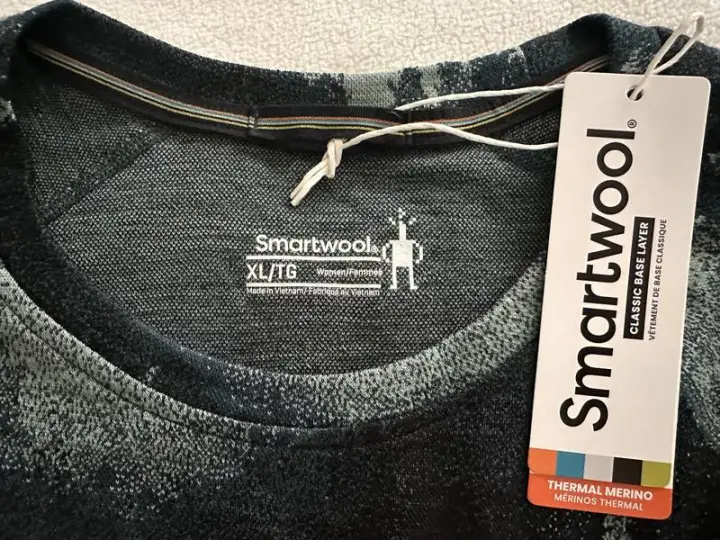
Merino wool feels comfortable against the skin, manages odor well, and continues to provide some insulation when damp. For colder days, something like the Smartwool Classic Thermal Merino Crew Base Layer Top gives you a warmer next-to-skin layer without turning your entire clothing system into one bulky piece.
That kind of thermal-weight merino layer makes the most sense when temperatures are genuinely cold or when you know you tend to run chilly.
For higher-output hikes, a lighter synthetic base layer may feel better. Polyester-based fabrics generally dry faster than wool and can be especially useful if you sweat heavily during climbs.
The mistake to avoid is choosing a base layer because it feels warm while standing still.
Your base layer is not supposed to do all the insulating. Its first job is moisture management.
And avoid cotton whenever possible. A cotton shirt can absorb sweat during the climb and remain wet long after you stop moving. In cold weather, that can quickly turn uncomfortable.
Your base layer should fit close to your body without restricting movement. If it is hanging loosely away from your skin, it cannot manage moisture as effectively.
Mid Layer: The Insulator
Your mid layer provides most of the warmth while still allowing you to move comfortably.
For active winter hiking, fleece is difficult to beat.
A breathable fleece lets some of the heat and moisture generated during a climb escape rather than trapping everything inside your clothing system. That makes it far easier to regulate your temperature.
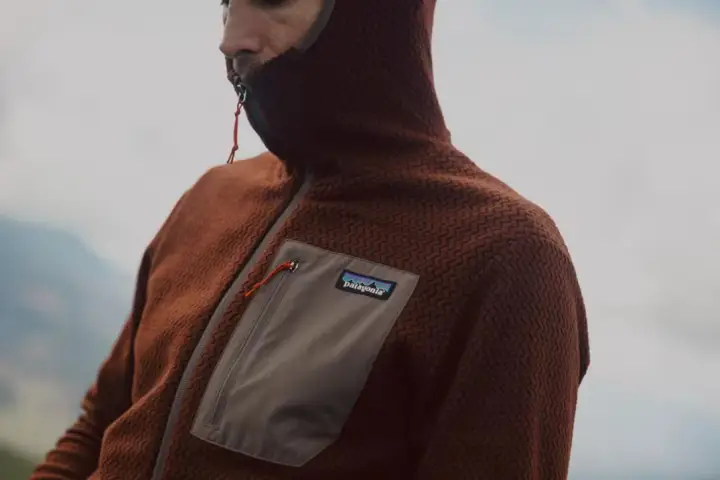
The Patagonia R1 Air Full-Zip Hoody is a good example of the type of mid layer that works well for this job. Its breathable construction is better suited to moving uphill than a bulky insulated jacket that may feel too warm after only a few minutes of effort.
A full-length zipper is particularly useful in winter because it gives you fast temperature control without stopping to remove layers.
For colder hikes, carrying an insulated jacket in addition to your fleece gives you more flexibility.
A lightweight synthetic puffy such as the Patagonia Nano Puff Insulated Jacket works well as a stop layer—something you pull on at lunch, at a viewpoint, or whenever your pace slows enough that your body is no longer generating as much heat.
That is usually more comfortable than trying to hike uphill inside a highly insulated jacket.
Down jackets work beautifully in cold, dry conditions because they offer excellent warmth for relatively little weight and pack space. Synthetic insulation is often easier to live with when snow, humidity, or damp weather are likely.
A very practical winter setup is:
base layer → fleece while moving → puffy when stopped
Then add your shell when weather protection becomes necessary. 🌲
Outer Layer: The Weather Shield
Your outer layer is there to protect the insulation underneath from wind, rain, and wet snow.
It does not necessarily need to be your warmest piece of clothing.
That is an important distinction.
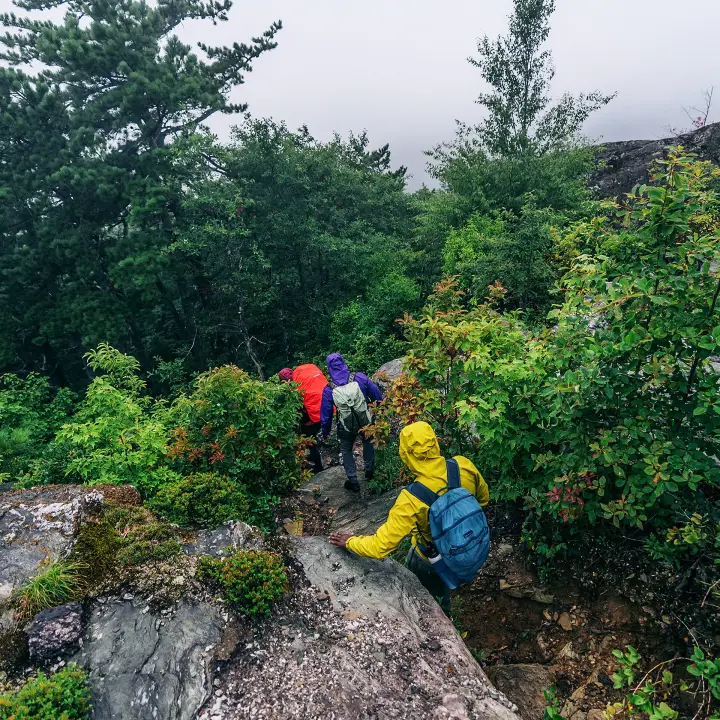
A waterproof hardshell such as the Patagonia Torrentshell 3L works as a protective barrier when weather deteriorates. Features such as pit zips are particularly useful during winter hiking because you can release heat without fully removing your jacket.
Wear it when the conditions require it—not simply because the temperature is low.
On a calm, dry winter climb, hiking in a base layer and fleece may feel far better than wearing a waterproof shell all day.
A softshell offers another option for cold, dry weather. Softshell fabrics typically breathe and stretch better than waterproof hardshells while still providing useful wind resistance and protection from light snow.
If you regularly hike in dry climates, a softshell may become one of your favorite winter pieces.
But if there is any realistic chance of rain, wet snow, or prolonged exposure, keep a waterproof shell in your pack.
Your Foundation on the Trail: Winter Hiking Footwear
Winter footwear is less about finding the biggest, warmest boot and more about matching your footwear to the trail conditions.
A packed trail at 35°F may be perfectly comfortable in waterproof hiking boots and wool socks.
Several hours in deep snow at 10°F is a completely different problem.
Think about:
- temperature
- snow depth
- trail moisture
- how long you will be outside
- whether you will be moving continuously
- how easily your feet become cold
- what kind of traction you need
Winter Hiking Boots
Insulated winter hiking boots become especially useful when temperatures stay well below freezing, snow is deep, or you expect long periods of slower movement.
The most important features are:
- enough insulation for the conditions
- waterproof or highly water-resistant construction
- room for your toes to move
- secure heel and midfoot fit
- good winter traction
- compatibility with your traction devices
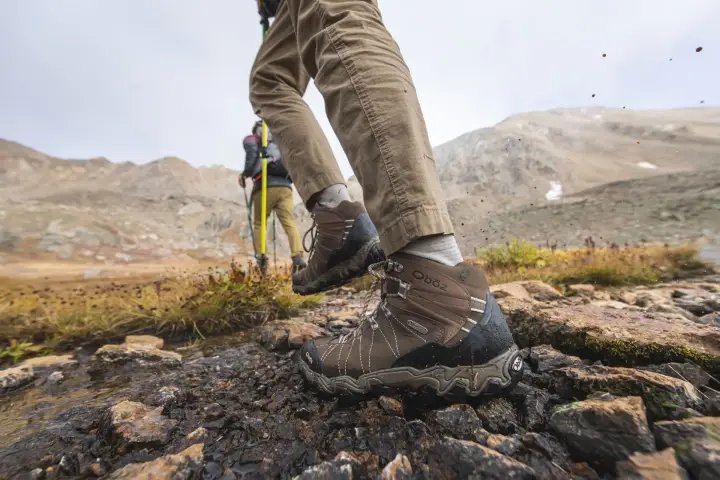
Boots such as the Oboz Bridger Insulated Waterproof line are designed for this kind of hiking and snowshoeing.
But do not assume more insulation automatically means warmer feet.
If the boot is too tight once you add thick socks, your feet may actually become less comfortable. Compression reduces the amount of warm air your socks can trap and may affect circulation.
Your toes should have room to wiggle.
For milder winter conditions, a waterproof three-season hiking boot may still be the better choice because it will usually feel lighter and less bulky.
Wool Socks
A good winter sock should manage moisture, add cushioning, and provide enough insulation without making your footwear too tight.
Merino wool blends work particularly well.
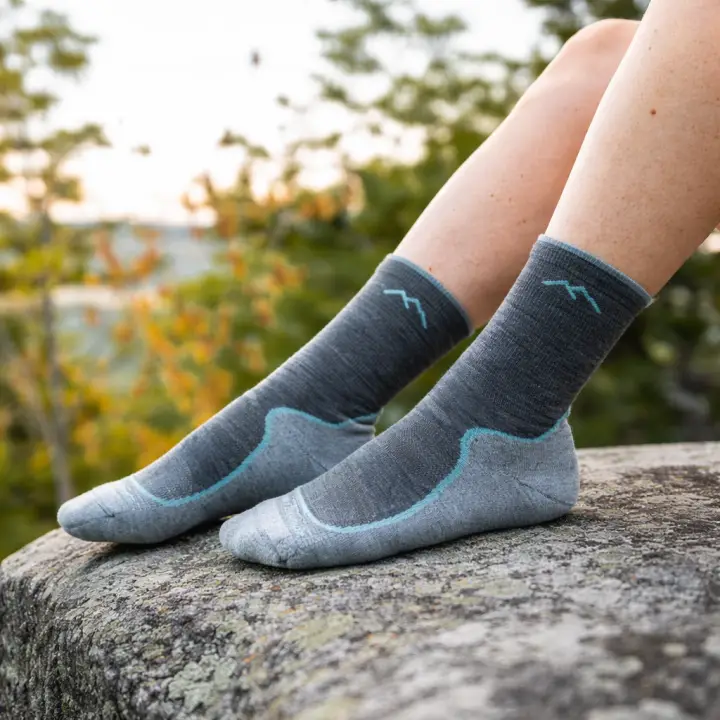
The Darn Tough Hiker Micro Crew Cushion Socks are a versatile example because they balance warmth, cushioning, and moisture management without being excessively bulky.
For ordinary winter hiking, you may not need the thickest sock available.
A medium-weight sock inside a properly fitting boot often feels better than a very thick sock squeezed into footwear that no longer fits correctly.
For longer hikes or wet conditions, carry an extra pair in a waterproof bag.
Dry socks take up very little pack space and can make a huge difference if snow or water gets into your boots.
Traction Devices: Match the Tool to the Trail
Winter traction should match the surface you are walking on.
| Device Type | Best For | What It Does |
|---|---|---|
| Microspikes | Packed snow and icy hiking trails | Adds metal spikes beneath your boots for grip |
| Snowshoes | Deep, soft snow | Helps prevent you from sinking deeply into unconsolidated snow |
| Crampons | Steep snow and ice | Provides aggressive traction for mountaineering terrain |
For many ordinary winter hikes, microspikes provide the most useful improvement in confidence and control.
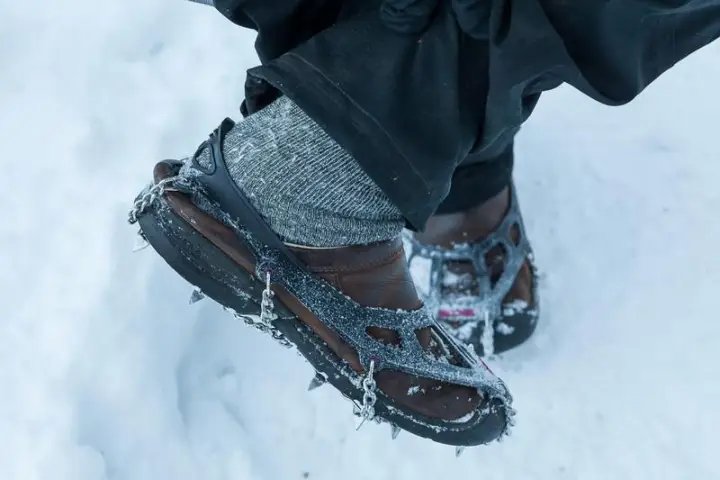
The Kahtoola MICROspikes Traction System slips over hiking boots and gives you significantly more grip on hard-packed snow and icy trail surfaces.
That can make descending a shaded icy switchback feel much more controlled.
Carry them whenever conditions are uncertain. Trails can change dramatically with elevation and shade—a dry trailhead does not mean you will not encounter ice two miles farther up.
But recognize their limitations.
Microspikes are designed for hiking terrain. If the route becomes steep enough that a fall would have serious consequences, you may need mountaineering crampons, an ice axe, and the skills to use them.
Gear should never be used as a substitute for the experience required by the terrain.
Gaiters
Gaiters become far more useful once snow starts getting deeper.
They cover the gap between your pants and boots, helping prevent snow, slush, and debris from entering from above.
That matters when you are:
- breaking trail through fresh snow
- snowshoeing
- post-holing
- hiking through wet brush
- crossing slushy sections
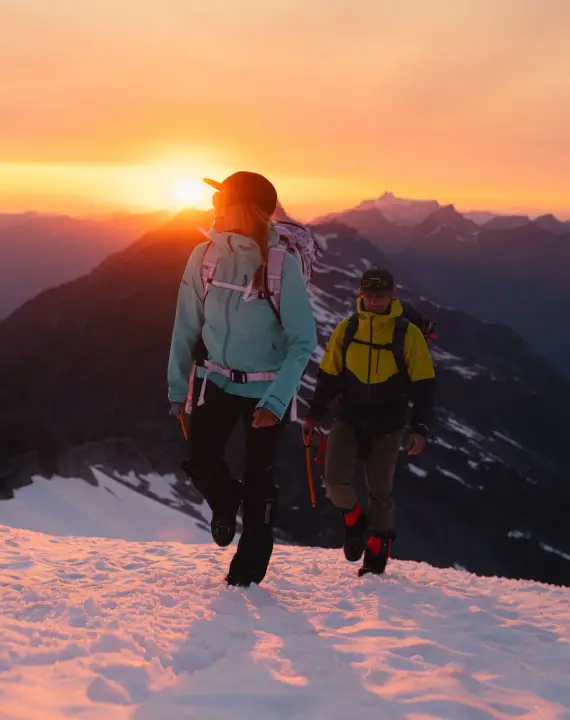
For deeper snow and messy winter weather, the Outdoor Research Crocodile Gaiters offer more coverage than a lightweight trail gaiter.
For packed winter trails, however, you may not need something that substantial.
Choose gaiter height based on the amount of snow you expect to encounter.
The Details That Make a Difference: Winter Accessories
Winter comfort often comes down to small pieces of gear.
Cold fingers, wind getting inside your collar, or blowing snow hitting your face can make an otherwise well-planned clothing system feel inadequate.
Head & Neck
A warm beanie or fleece hat is easy to remove when you begin overheating and easy to put back on when you stop.
That makes it one of your fastest temperature-control tools.
A neck gaiter is equally useful.
Wear it around your neck while climbing, then pull it over your chin, cheeks, or nose when the wind increases. In especially cold conditions, a balaclava provides more complete protection.
Eye protection matters too.
Bright snow can create intense glare, even on days that do not feel particularly sunny. Wear sunglasses with adequate UV protection, and consider goggles for exposed, windy terrain where blowing snow becomes uncomfortable.
Hands: Build a Layering System for Your Fingers
Your hands benefit from layering just as much as your torso.
Start with thin liner gloves when you need dexterity.
They make it easier to:
- adjust your backpack
- operate zippers
- use trekking poles
- eat
- check navigation
- handle traction devices
When conditions get colder, add an insulated or weather-resistant outer glove.
If your hands tend to get cold easily, mittens usually provide more warmth because your fingers share heat inside one compartment.
The downside is reduced dexterity.
For longer hikes, carrying a spare dry pair is worthwhile. Gloves can become damp surprisingly quickly from sweat, snow, and repeated contact with wet gear.
Hiking Poles
Trekking poles become especially useful in winter because the trail surface is less predictable.
One step may land on firm snow. The next may break through a crust. Another may hit hidden ice.
Poles give you two additional points of contact and can improve balance on:
- icy descents
- uneven snow
- packed trails
- snowshoe routes
- stream crossings with icy edges
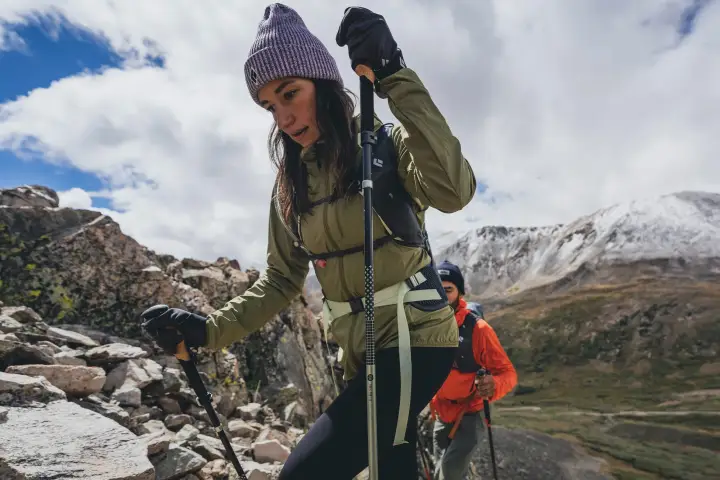
The Black Diamond Trail Back Trekking Poles work well for hikers who want one pair that can transition between normal trails and winter conditions.
When you expect deeper snow, install larger snow baskets. Small summer baskets can plunge straight through powder with each step.
Your Winter Pack: The Ten Essentials, Upgraded
Winter does not replace the Ten Essentials—it makes them more important.
A delay that would merely be annoying on a warm June afternoon can become much more serious after sunset in January.
| Essential | Standard Approach | Cold-Weather Upgrade |
|---|---|---|
| Navigation | Map, compass, phone or GPS | Download offline maps and carry backup power |
| Headlamp | Headlamp | Bring reliable backup power or batteries |
| Sun Protection | Sunscreen and sunglasses | Add SPF lip balm and strong eye protection around snow |
| First Aid | Basic first-aid kit | Include blister care and personal medications |
| Knife / Repair Gear | Knife or multitool | Add basic field-repair supplies |
| Fire | Lighter or matches | Protect ignition sources from moisture |
| Emergency Shelter | Emergency blanket | Consider a more protective emergency bivy |
| Extra Food | Extra snack | Carry additional calorie-dense food that remains edible when cold |
| Extra Water | Bottle or reservoir | Protect water and drinking hoses from freezing |
| Extra Clothes | Spare layer | Carry extra insulation, gloves, and dry socks |
Navigation and Backup Power
Snow can erase the visual cues you normally use to follow a trail.
Footprints may lead in the wrong direction. Blazes may be harder to see. A familiar trail can look surprisingly different after fresh snowfall.
Download your maps before leaving home.
If your phone is an important part of your navigation setup, protect it from prolonged cold and carry a backup battery.
Keep the phone closer to your body rather than leaving it in an exposed outer pocket.
And avoid depending on only one navigation method when you are heading somewhere remote.
Headlamp
A headlamp belongs in your pack even when you are planning a short winter hike.
Daylight disappears quickly, and snow travel can slow you down more than expected.
A trail that takes three hours in summer may take significantly longer when you are stopping to install microspikes, navigating snow-covered sections, or moving cautiously across ice.
Check the battery or charge before leaving.
Your phone flashlight should be backup lighting, not your primary plan.
Emergency Shelter
Ask yourself what would happen if you could no longer keep hiking.
Moving generates a tremendous amount of heat. Once you stop, your clothing system suddenly has a much harder job.
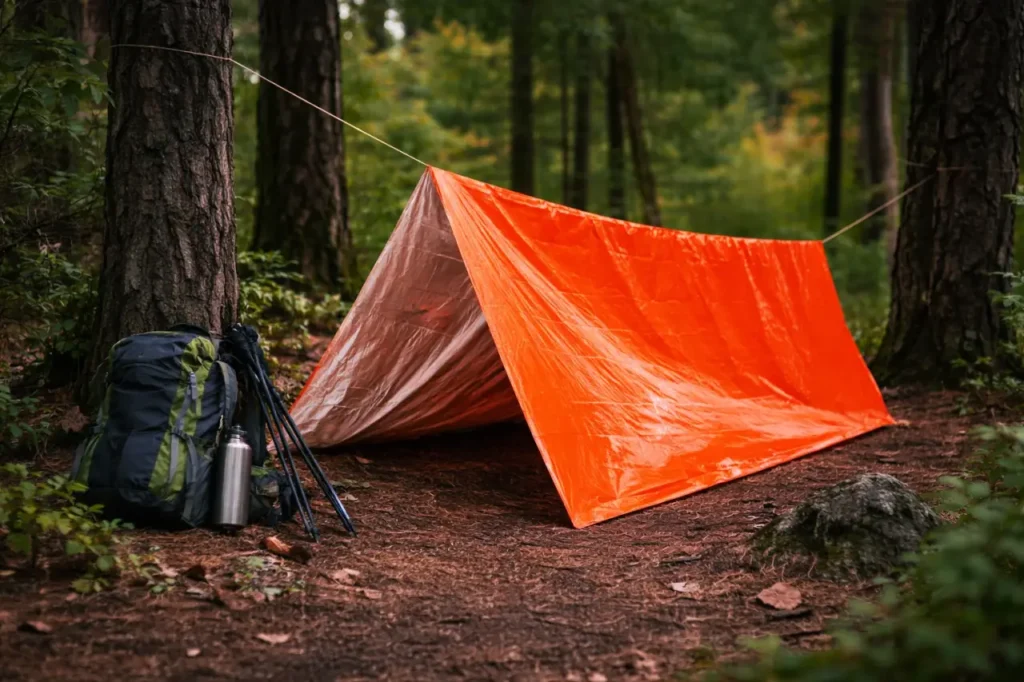
An emergency bivy or compact shelter gives you a way to reduce wind exposure and preserve warmth if an injury or navigation problem keeps you outside longer than expected.
A small foam sitting pad is also useful during planned stops.
Snow and frozen ground pull heat away quickly, and having an insulating surface underneath you can make lunch breaks much more comfortable.
Extra Food
Winter hiking burns energy, and cold weather can make food awkward to access and eat.
Pack snacks that work even when your fingers are cold.
Good options include:
- nuts
- trail mix
- nut butter
- dried fruit
- energy chews
- chocolate
- bars that remain soft enough in cold temperatures
Some energy bars become almost rock-hard when frozen, so test your favorites before relying on them.
Keep food somewhere accessible.
If eating requires removing your backpack, opening several stuff sacks, and digging beneath extra layers, you are more likely to postpone it.
Water
You still need to hydrate when the weather is cold.
The difference is that you may not feel as thirsty.
Sip regularly instead of waiting for thirst to remind you.
Hydration reservoirs can work in winter, but hoses and bite valves are vulnerable to freezing. Blowing water back into the reservoir after drinking can help reduce the amount left in the exposed hose.
For colder conditions, an insulated bottle or bottle sleeve may be simpler.
Keep bottles inside your backpack rather than strapped outside where they are exposed to wind.
A thermos with a warm drink can also make a cold lunch stop far more pleasant. ☕
Extra Clothing
Your spare clothing should protect you if your pace slows or you are forced to stop.
A practical winter backup kit may include:
- insulated puffy jacket
- waterproof shell
- dry gloves or mittens
- extra wool socks
- warm hat
- neck gaiter
You do not need to carry an entire second outfit.
You simply need enough reserve warmth to handle the conditions if the hike does not go exactly as planned.
Safety First: How to Hike Smart in the Cold
The most important winter decisions happen before and during the hike, not at the gear store.
Equipment can help you manage conditions.
It cannot make poor conditions safe.
Check More Than the Temperature
Do not look only at the number next to the thermometer icon.
Check:
- wind speed
- wind chill
- precipitation
- overnight temperatures
- recent snowfall
- trail conditions
- visibility
- road access
- daylight hours
A calm 25°F day in the sun can feel more comfortable than a wet, windy 35°F day.
Wind makes an enormous difference, particularly once you leave the trees.
If your route enters avalanche terrain, check the appropriate avalanche forecast and choose terrain that matches your experience and training.
Avalanche safety is not something to solve by simply purchasing more gear.
Start Early and Build in Extra Time
Winter hiking often takes longer than expected.
Deep snow slows movement. Ice requires careful foot placement. Traction devices take time to install. Route finding may become more complicated.
Give yourself a generous daylight buffer.
It also helps to set a turnaround time before starting.
That turns the decision into something objective.
If you have not reached your destination by the agreed time, head back—even if the summit or viewpoint looks close.
Tell Someone Your Plan
Leave your hiking plan with someone who will not be on the trip.
Include:
- where you are parking
- your route
- your expected destination
- your turnaround time
- when you expect to return
- when they should become concerned
For remote routes where cell service is unreliable, a satellite communicator can provide an additional layer of backup.
Stay Fueled and Hydrated
Do not wait until you feel exhausted to eat.
Regular snacks help maintain energy, which matters when your body is also working to regulate temperature.
The same principle applies to hydration.
You may notice thirst less in cold conditions, but you are still losing water through breathing and perspiration.
Eat and drink consistently rather than trying to catch up later.
Learn to Recognize Cold Stress
Pay attention to changes in yourself and anyone hiking with you.
Cold-related problems can affect coordination, judgment, and behavior.
Warning signs such as persistent shivering, increasing clumsiness, unusual fatigue, confusion, or numbness deserve attention.
Do not wait for the problem to become severe before changing your plan.
Add insulation.
Get out of the wind.
Eat.
Turn around.
Head toward shelter.
Early action is easier than trying to recover once someone is already significantly chilled.
Know When to Turn Around
A winter hike does not have to end at the planned destination to be successful.
Turn around when:
- weather deteriorates
- traction is inadequate
- snow is deeper than expected
- your pace becomes too slow
- someone cannot stay warm
- navigation becomes uncertain
- daylight is running short
- the terrain exceeds your comfort or experience
Winter trails reward conservative decisions.
The mountain, overlook, waterfall, or summit will still be there another day.
The Final Word
The best cold weather hiking gear is not the warmest collection of clothing you can put on.
It is a flexible system that helps you stay dry while working hard, warm when you stop, protected when weather changes, and secure when the trail becomes snowy or icy.
Start with a base layer that manages sweat.
Add breathable insulation you can comfortably hike in.
Carry a warmer puffy for breaks.
Keep a waterproof shell accessible.
Choose footwear based on the actual temperature and snow conditions rather than the season printed on the calendar.
Carry traction when ice is possible.
And always keep some reserve warmth and emergency equipment in your pack.
Once you learn to adjust those pieces throughout the day, winter hiking becomes much more comfortable.
You may climb in nothing more than a base layer and fleece, pull on a puffy at a snowy overlook, add your shell when the wind arrives, and remove half of it again ten minutes after returning to the trees.
That is exactly how the system is supposed to work.
The goal is not to fight winter.
It is to stay comfortable enough that you can actually enjoy the quiet trail, crisp air, snowy forest, and completely different version of a landscape you may already know. ❄️🌲
Frequently Asked Questions
What temperature is too cold for hiking?
There is no single temperature that is too cold for every hiker.
A calm, sunny day in the 20s°F can feel comfortable with the right clothing, while temperatures above freezing can feel much colder when wind and rain are involved.
Experience, route exposure, wind chill, clothing, fitness, snow conditions, and the amount of time you will be outside all matter.
If you are new to winter hiking, begin with shorter familiar trails in relatively mild conditions. That lets you learn how your layering system behaves without committing to a long or remote route.
Can I use my regular hiking boots in winter?
Yes, in the right conditions.
Waterproof three-season hiking boots can work well for mild winter temperatures, packed trails, and shallow snow.
Pair them with appropriate wool or synthetic socks and traction when needed.
Insulated winter hiking boots become more useful as temperatures drop, snow gets deeper, or your time outside increases.
Choose based on the conditions rather than assuming every winter hike requires insulated boots.
Do I need microspikes for winter hiking?
Not always, but they are worth carrying whenever packed snow or ice may be present.
A trail can be dry and sunny at the trailhead while remaining frozen in shaded sections farther uphill.
Microspikes can make those icy stretches far easier to navigate.
For steep or technical snow and ice, however, microspikes may not be enough. That terrain may require mountaineering crampons, an ice axe, and appropriate training.
How do I keep my phone from dying in the cold?
Keep it warm and protected.
An inside jacket pocket is generally better than an exposed outside pocket when temperatures are very low.
Carry a backup battery if your phone is important for navigation or communication.
Download your maps before starting the hike so you are not depending on cell service.
Should I wear down or synthetic insulation for winter hiking?
Both can work.
Down is exceptionally warm for its weight and packs very small, making it excellent for cold, dry conditions and rest stops.
Synthetic insulation generally handles damp environments better and is often a practical choice when snow or moisture are likely.
For active hiking, many people are most comfortable moving in fleece and saving their puffy jacket—whether down or synthetic—for breaks.
What’s the difference between waterproof and water-resistant?
Water-resistant clothing can handle limited moisture such as light snowfall or a short drizzle.
Waterproof clothing is designed to provide protection through sustained precipitation.
That does not mean waterproof clothing should be worn constantly.
During strenuous winter hiking, breathability matters. Wearing a waterproof shell unnecessarily can trap sweat inside your clothing system.
Use your shell when the weather requires it and vent aggressively when you begin heating up.
Should winter hiking boots fit larger than regular hiking boots?
They should provide enough room for your intended socks and allow your toes to move comfortably.
That does not mean automatically buying a much larger size.
Too much extra space can cause heel movement and blisters.
Too little space can compress your socks and make your feet uncomfortable.
Try winter boots with the exact type of sock you plan to wear on the trail.
What cold weather hiking gear should a beginner buy first?
Build the system around the problems you are most likely to encounter:
- moisture-wicking base layer
- breathable fleece or mid layer
- insulated jacket for stops
- waterproof shell
- appropriate hiking footwear
- wool or synthetic hiking socks
- warm gloves and hat
- traction for icy trails
- headlamp
- extra insulation and basic emergency gear
Do not feel pressured to build the perfect winter kit before your first hike.
Start on shorter, easier trails and pay attention to what happens.
Were your hands cold?
Did you sweat too much?
Were your feet comfortable?
Did you ever use your puffy while moving?
Did you wish you had traction?
A few well-chosen winter hikes will teach you more about your personal layering system than simply adding more gear.
Affiliate Disclosure: GearForTheOutdoors.com participates in affiliate programs, including REI, Amazon, REI Outlet, Garage Grown Gear, evo, and other trusted partners. When you purchase through our links, we may earn a small commission at no extra cost to you. That helps support our content and keeps our recommendations useful, practical, and free.
Disclaimer: This post is for informational purposes only. Always verify current product details, fit, availability, safety information, and manufacturer warranties before purchase or use. Outdoor conditions and gear performance can vary depending on setup, weather, terrain, and experience level.